Photo to video AI works like this: you upload a still, write two or three lines about the motion, and the model imagines what happens next. Your photo becomes the first frame of the clip. That is how a product shot turns into an ad, and a series of construction photos turns into a timelapse. I spent 13 years shooting and running a production company, and since 2023 AI has been part of how I work. My "AI Wedding and the Bride's Reaction" video reached 2.4 million views (my own site data as of November 5, 2026). Here's how I actually do it.
In short
Short answer: 1) the photo is the first frame, and the AI generates the motion from there; 2) describe one or two movements and the camera, not the whole plot; 3) a product shot can be almost any quality, a face needs a sharp, well-lit photo; 4) there are two workflows: one photo plus a script (fast, less control) or your own storyboard of several frames (slower, but the clip comes out the way you planned it); 5) treat the first generation as a test, the usable one is usually the second or third; 6) speed the finished shot up slightly in the edit.
What the AI does with your photo, and what it can't do
A video model doesn't "play" your photo like footage. It takes the image as frame one and invents every frame after it: how the camera moves, where the person walks, how the light falls. Two things follow from that.
First: the photo sets everything that's in the frame, and the prompt only sets the motion. You don't need to describe the face, the outfit or the color of the walls. They're already in the picture.
Second: you can't get other angles of the same place from a single photo. The model has never seen what's behind your subject, so it starts breaking physics. No generator can reliably do that today. If you need different angles, generate them from scratch, together in one request, instead of trying to "rotate" an existing photo.
And the main point: the animation isn't what matters most. The story is. A moving picture with no idea behind it gets scrolled past.
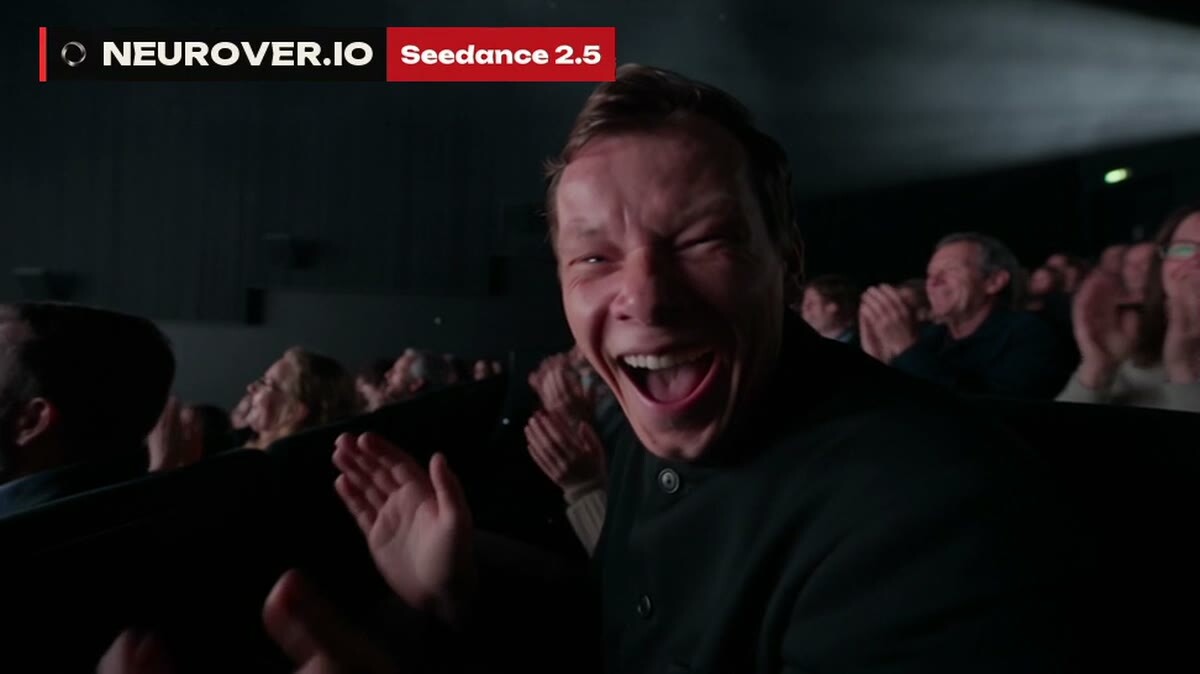
“AI Wedding”: the scene was built with AI
Which photos work best
A lot depends on what's in the shot.
Products. For a product video, a product photo of almost any quality is enough. In my lesson on ad videos I deliberately used an old slipper to prove the point: you can make a commercial out of pretty much anything. I clean the photo up first in an image generator with a short request. Mine was: "Place the slipper on a clean white background for a product demo, remove everything else, and make the slipper look brand new." Then the video model gets a clean frame to work with.
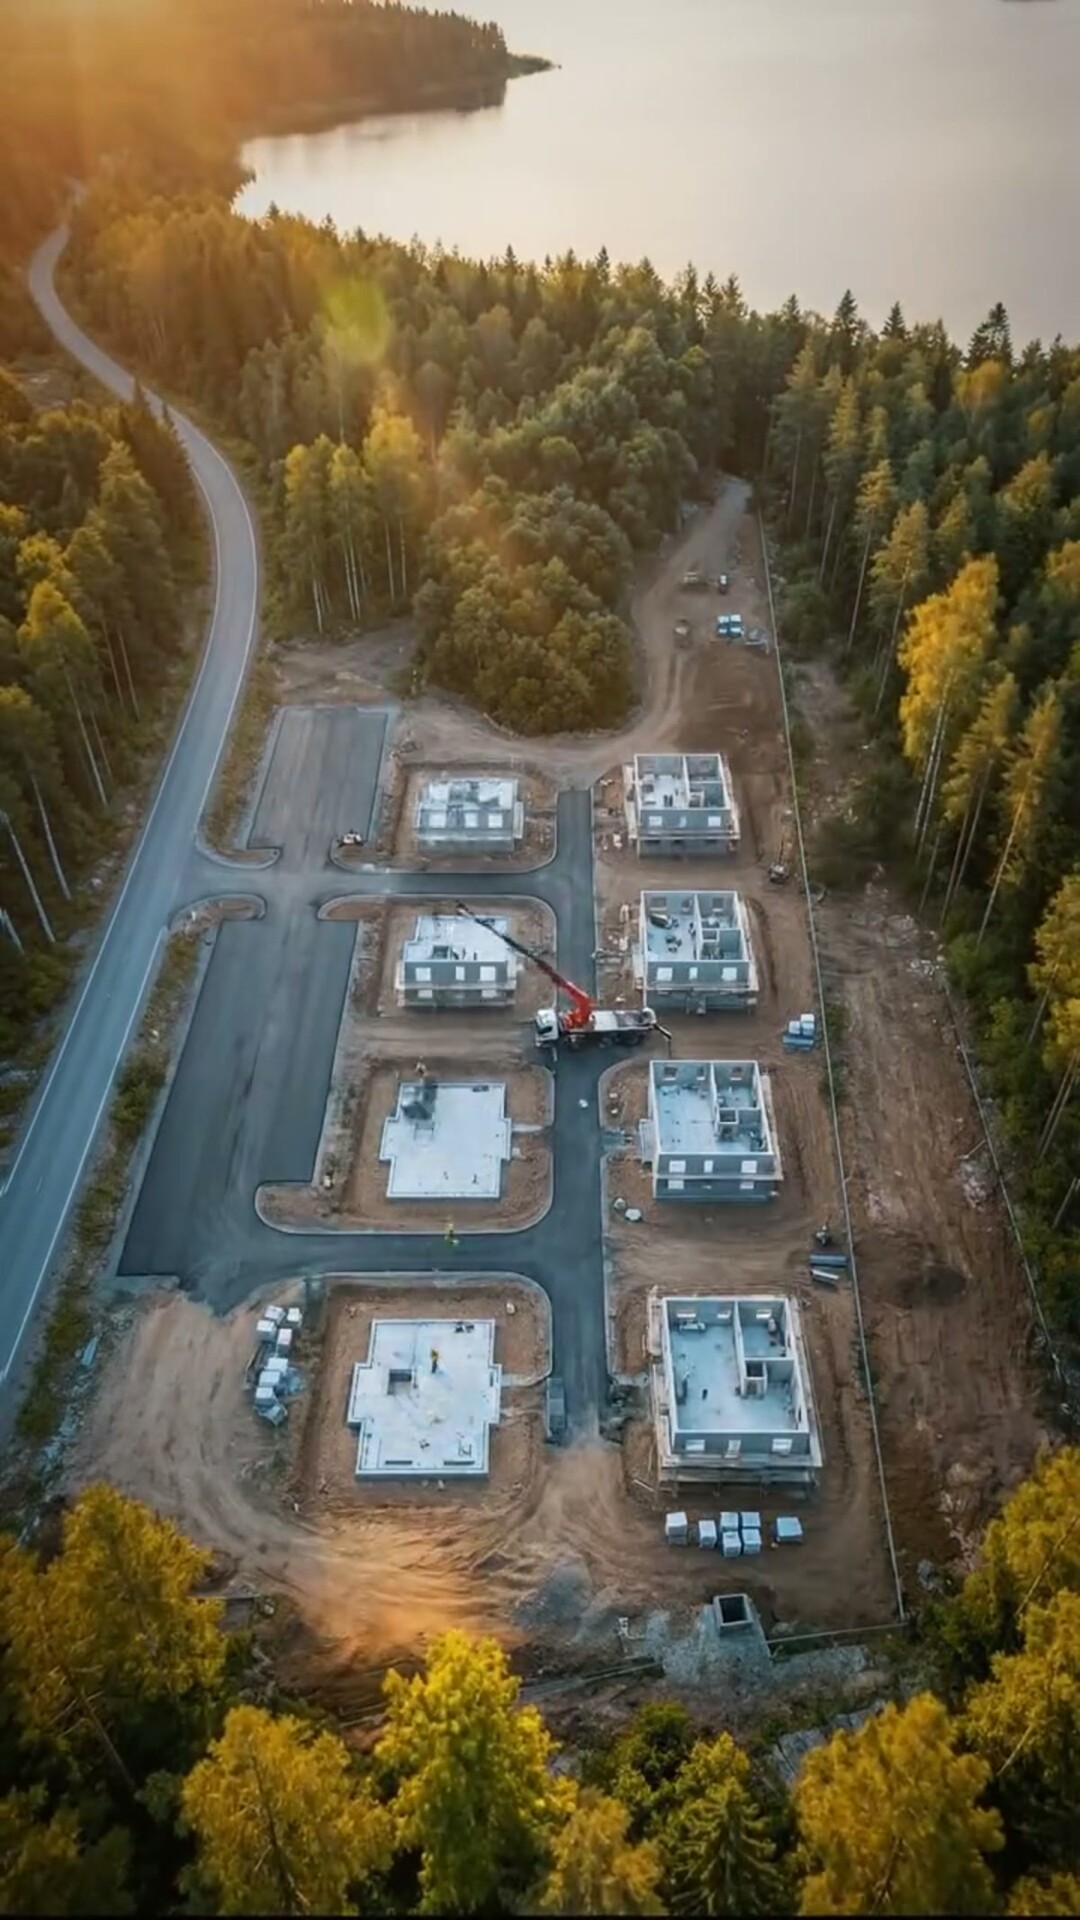
Places, construction, interiors. For a timelapse, a series of photos works, not a single frame. When I tried to show a renovation from just two photos, I got a lot of generative garbage. The more in-between frames you give the model, the better the result.
Two workflows: one photo or your own storyboard
In my lesson on ad videos I split the work into two approaches.
Semi-controlled: one photo plus a script. Upload the product photo, ask a text model to write a script, and hand that script to the video model. My request to the text model is simple: "Study the photo and write a shot-by-shot script for a short commercial for this product." Claude, ChatGPT or Gemini will all handle it; it's not a hard task. You get less control but more flexibility: the model will suggest moves you wouldn't have thought of.
Controlled: your own storyboard. You build the frames you want to see first, and the video model only brings them to life. When the clip has to come out exactly as planned, there's no way around it: create the image, then animate that image. That's how I made a phone ad from a single multi-panel storyboard image, and it turned into a complete commercial.
For first experiments and social posts, take the first. For a client where every frame matters, the second. The generator is a swappable part; the system stays the same.
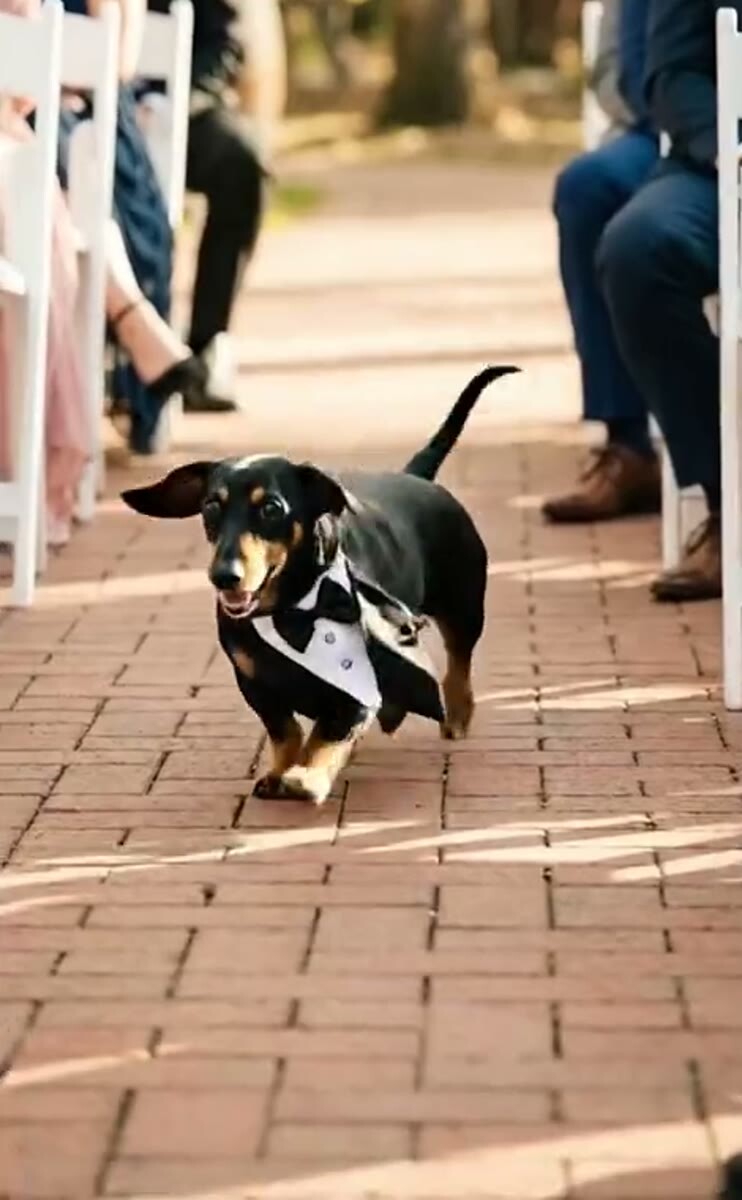
A dachshund in a tuxedo, one of the scenes from “AI Wedding”
How to write an image to video prompt
I always aim for fewer actions. The less you ask for, the fewer chances the model has to get it wrong.
The template I use myself: who is in the frame, where they are, what they're doing, what the camera does, what the light is, what the mood and style are. With photo to video, the first items are already covered by the photo, so what's left is motion, camera and light. If the clip runs longer than a few seconds, break it down by seconds: what happens at second one, what happens at second three.
A separate note on the space around the frame. In one of my lessons I burned a lot of money on generations until I explained to the model where exactly I was sitting and what was outside the frame. As soon as I described it, the model did exactly what I needed. The AI can't see past the edges of your photo, so it makes things up. One sentence about the surroundings saves dozens of attempts.
One more thing: a short prompt preserves more detail than a long one. With a long description, the model once changed my character's appearance. I collected full formulas with examples in a separate guide: AI video prompts that the model gets right the first time.
Best AI image to video model for the job
There isn't a universal one, and I won't pretend there is. Here's how I split the work.
Kling. I use it a lot because I like how realistic the image looks. A clip under five seconds is the cheapest generation in Kling, and that's enough to test a movement.
Veo and Google Flow. On timelapses, Veo renders far better than Kling. The timelapses that brought me tens of millions of views were made in Veo. Google released Veo 3.1 on October 15, 2025 with better image to video output and added it to Flow. Free access in Flow has changed over time, so check the current terms.
Grok Imagine. For animating a photo, in my opinion it's stronger than Seedance and cheaper. It holds faces well and renders water very realistically. xAI shipped a dedicated image to video model, Grok Imagine Video 1.5, in June 2026. What annoys me are the dissolve transitions: I like hard cuts, so I make one shot per generation and cut them together myself.
Seedance 2.5. The most expensive model I use. ByteDance announced it on July 31, 2026, and outside China it rolls out through Dreamina and CapCut, with availability depending on your region and plan. What I value most: you can tell the model what to take from a reference and what to leave out, as in "take the cat, skip the couch." Handy when you need only the product from a photo and a new background. Full breakdown here: Seedance 2.5: what it is and how to use it.
Vidu Q3. On some timelapses it beats Veo 3.1. My latest Palm Jumeirah timelapse was made in it.
For storyboard frames I use two image models, Nano Banana and Seedream: often one handles a shot better than the other, often they complement each other. The key frame usually comes from Seedream, the fixes from Nano Banana.
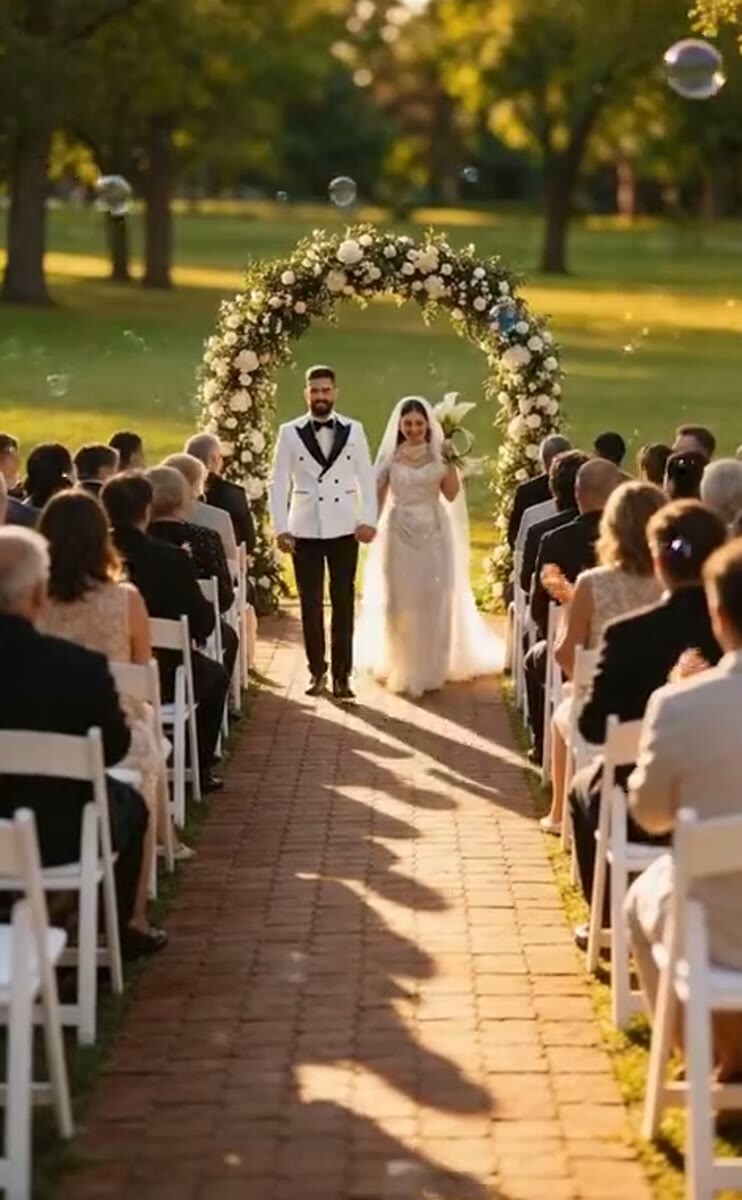
The ceremony from “AI Wedding”: wide shot
How much it costs and how many attempts it takes
Prices differ between models and change often, so I'll only say what I know for sure. Kling's cheapest option is a clip under five seconds. Seedance 2.5 is the most expensive model in my kit. Whatever platform you use, check the price before you hit generate.
On attempts, I'll be straight with you: the first generation is almost never the final one. In my intro lesson, the first attempt had weak motion, so I published the second. In the ad video lesson I spotted a couple of glitches in the first generation and said what I always say: by the second or third generation that problem goes away. Budget two or three attempts per shot.
Even so, the speed is on another level. A finished ad from a reworked prompt took me four minutes. Putting together a photo set for a construction timelapse takes about twenty. And clients pay for that timelapse on a completely different scale: renovation companies and event agencies buy it to show a stage being built from a single photo.
Common mistakes in AI photo to video
The video looks slowed down. Generators often output slightly slow-motion footage. That's why I speed up almost every shot: it looks more real, and the speed-up hides some of the distortion.
Too many references. When you feed in too many photos of your character, the result is awful. I've never used more than five.
Too few source frames for a timelapse. I mentioned the two-photo renovation already: the model fills the gaps with junk. Shoot more in-between stages.
Someone else's face. In my experience, the most realistic models, Sora and Veo, refuse photos of other real people. Your own photos are easier, and you shouldn't use other people's photos without permission anyway.
Treating the first attempt as final. The most expensive beginner mistake: the flaw ends up in front of your viewer.
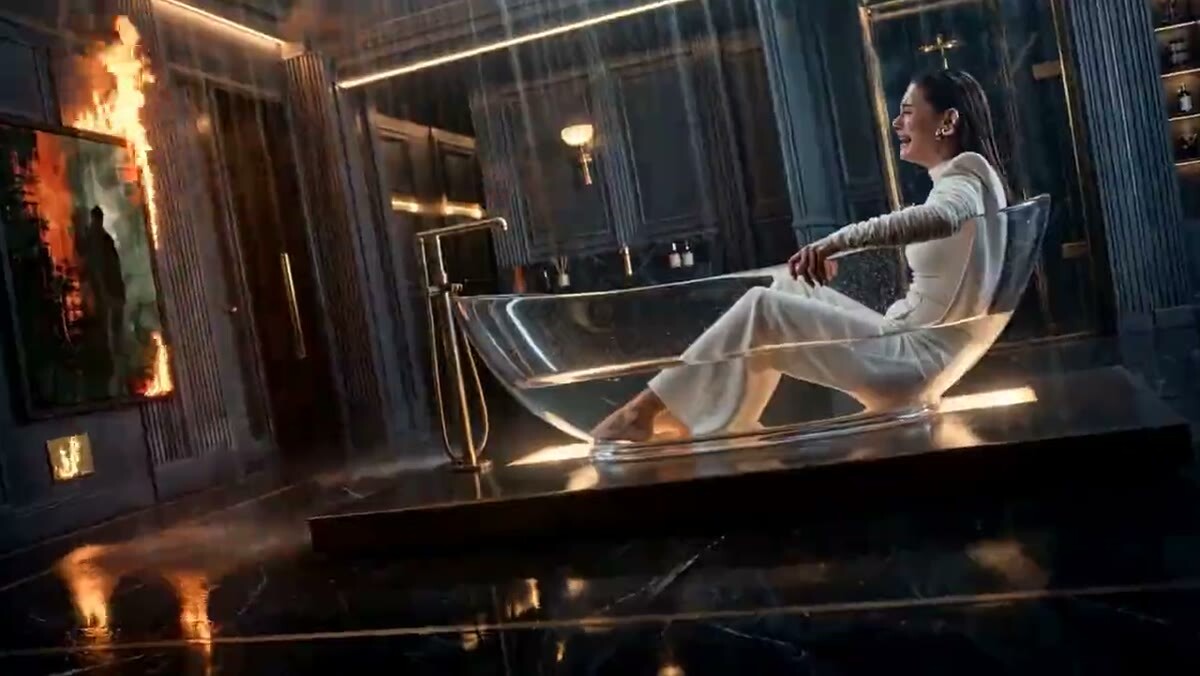
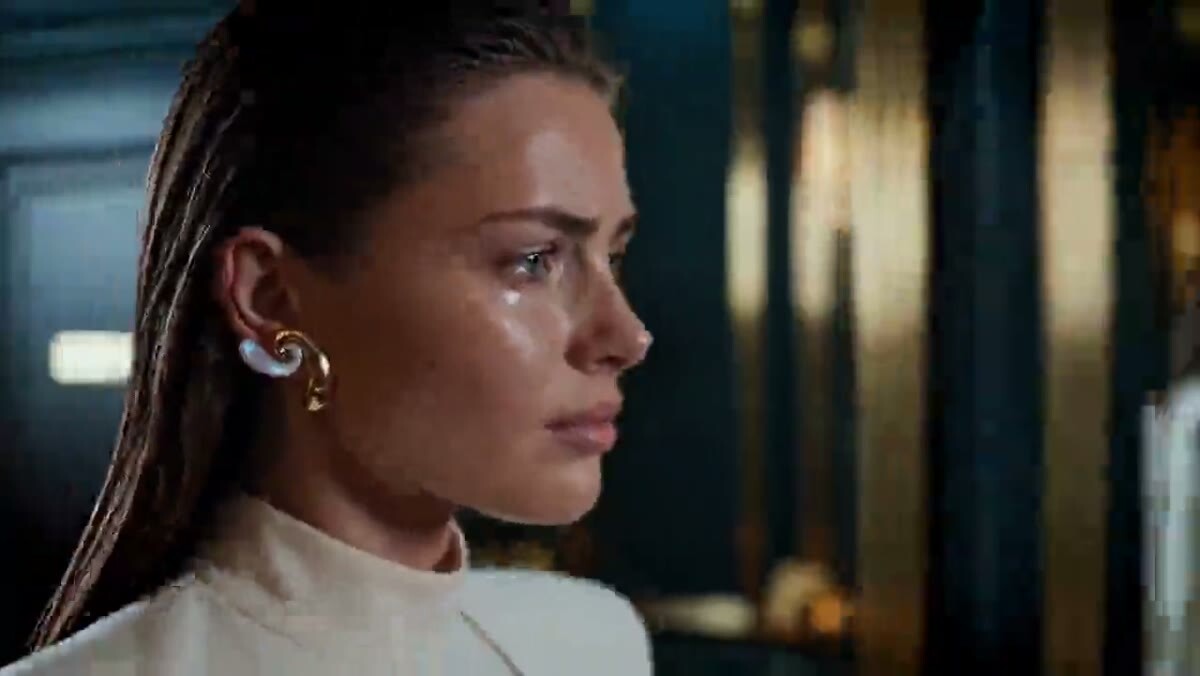
The lead character was fully generated with AI; building her look took a month and a half
What people use it for
The most common job is ads and product videos. Whatever you sell, use your real product: shoes, your own sneakers; jewelry, your own ring. Nobody needs a video of a product that doesn't exist.
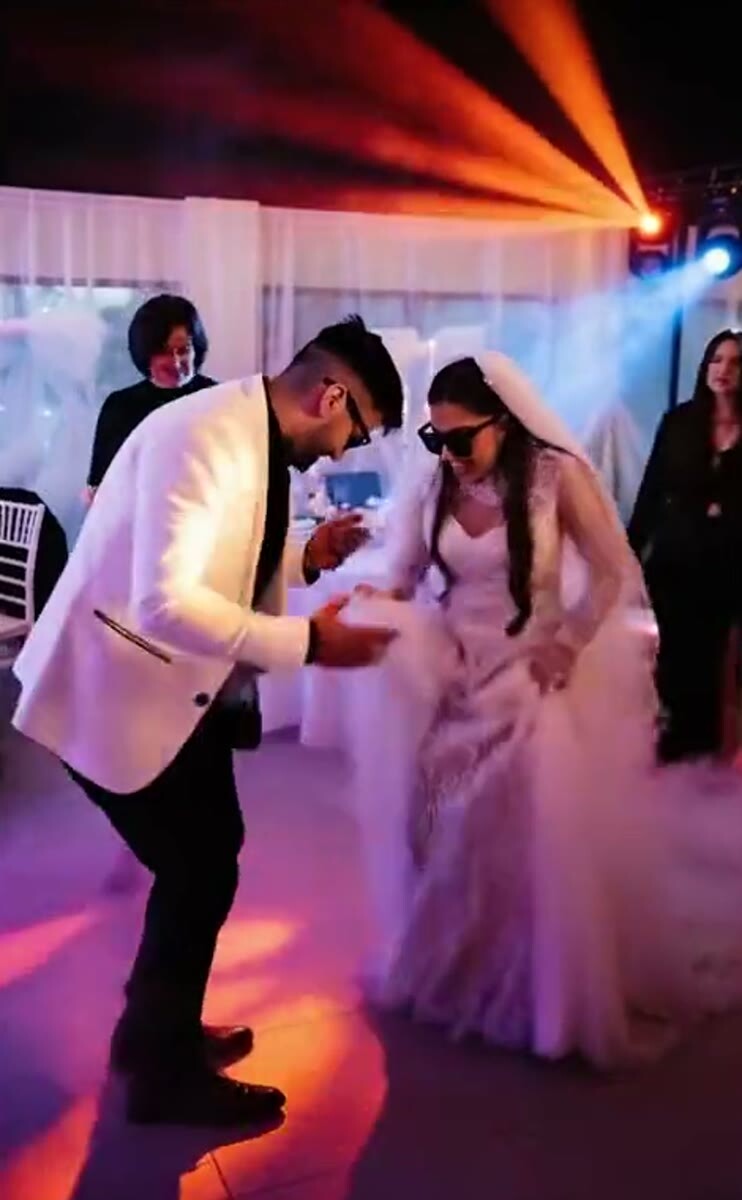
Second is visualizing something that hasn't happened yet. My "AI Wedding" is exactly that: the wedding scenes were built with AI, and next to them in the video is the bride's real reaction. Same category: the stage-build timelapse from a single photo that event agencies order.
Third is memories: old travel photos become a clip where the AI analyzes the shots, writes the script and generates the video. No prompts needed.
Fourth is big projects. On a video for a well-known pop artist, where I was the AI art director, the lead character was fully generated with AI, and the interiors were made in a way a live-action budget would never have allowed.
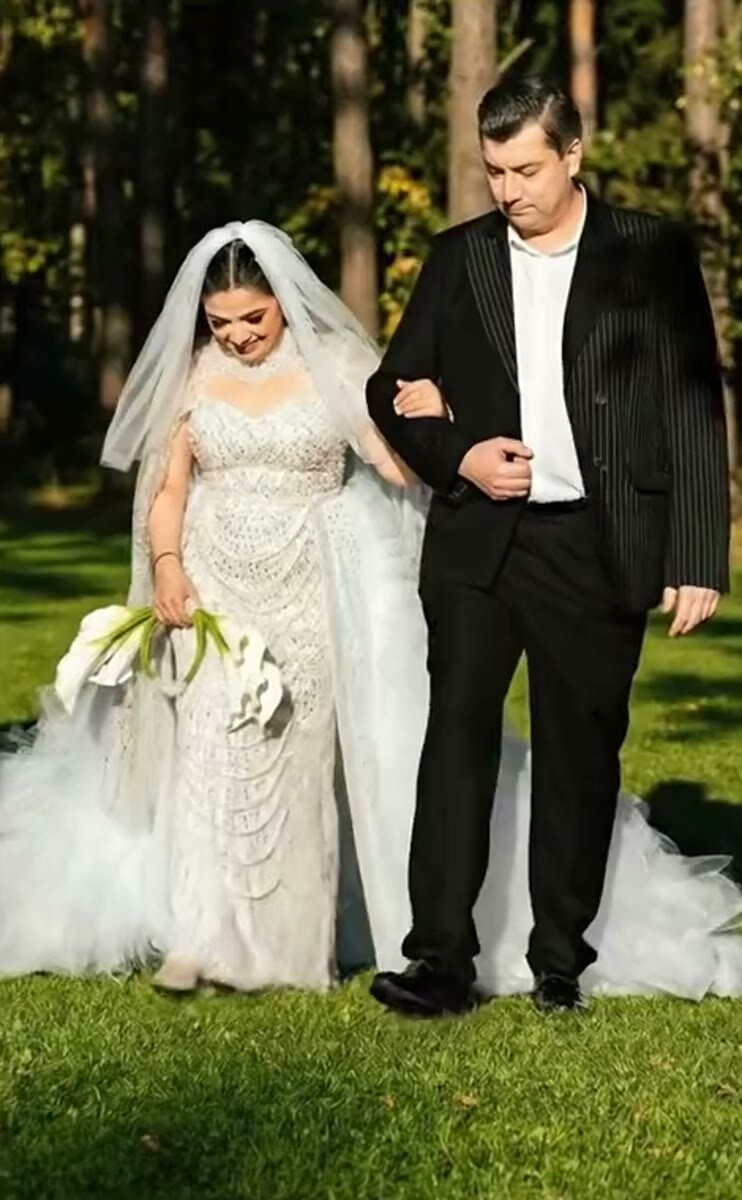
The first dance from “AI Wedding”
Where to go from here
For a first result, what's above is enough: one photo, one movement, an honest description of the space around the frame, and two or three attempts. If you want to go deeper into product videos, storyboards and how I build whole sequences, I post deeper breakdowns and lessons in English on Patreon.
FAQ
What is the best AI to turn a photo into a video?
It depends on the job. I like Kling for realism, Veo draws timelapses better, and Grok Imagine animates photos cheaper than Seedance. I use Seedance 2.5 when I need to tell the model exactly what to take from the photo and what to ignore.
Can I turn a single photo into a video with AI?
Yes, and it's the fastest route: one photo plus a script written by a text model. You get less control, but for social media and testing an idea it's enough. For a clip that comes out exactly as planned, build a storyboard from several frames.
How many photos do I need for an AI timelapse?
The more in-between stages, the better. With two photos of a renovation, I got generative garbage.
Why does my AI video from a photo look slow?
Many generators do that. Speed the shot up slightly in the edit: it looks more real and hides some distortion.
Do I need to describe the person in an image to video prompt?
No. Their appearance is already in the photo. The prompt is for motion, camera and light. A long description can change your character; a short one keeps the details.