To animate a photo with AI, you need three things: a good image, a video model and a short description of what should move in the frame. The creepy face almost always comes from the same three mistakes: a prompt that's too long, a weak source photo and trying to move everything at once. I spent 13 years shooting and running a production company, and since 2023 I've built AI into my production work. Here's how I approach animating a photo, where it breaks and how to spot the problems before you publish.
In short
How to animate a photo with AI: 1) start with a sharp, well-lit image, ideally with some room around the subject; 2) upload it to a video model as the first frame; 3) describe one or two movements, not the whole story; 4) run two or three generations and keep the best one; 5) if it feels slow, speed the shot up slightly in your edit. Faces usually break because of long prompts and complex poses, not because the model is bad.
What actually happens when a photo "comes to life"
The model doesn't play your photo like a recording. It treats the image as frame one and invents what could happen next: where the head turns, how the branches sway, how the water drifts. Every new frame is another guess.
That leads to the idea this whole article rests on. The less you ask for, the fewer chances the model has to get it wrong. In my lessons I put it simply: I always aim for fewer actions. And there's one thing I repeat more than anything else: the animation isn't the point, the story is. An animated photo with no meaning is just a moving picture people scroll past.
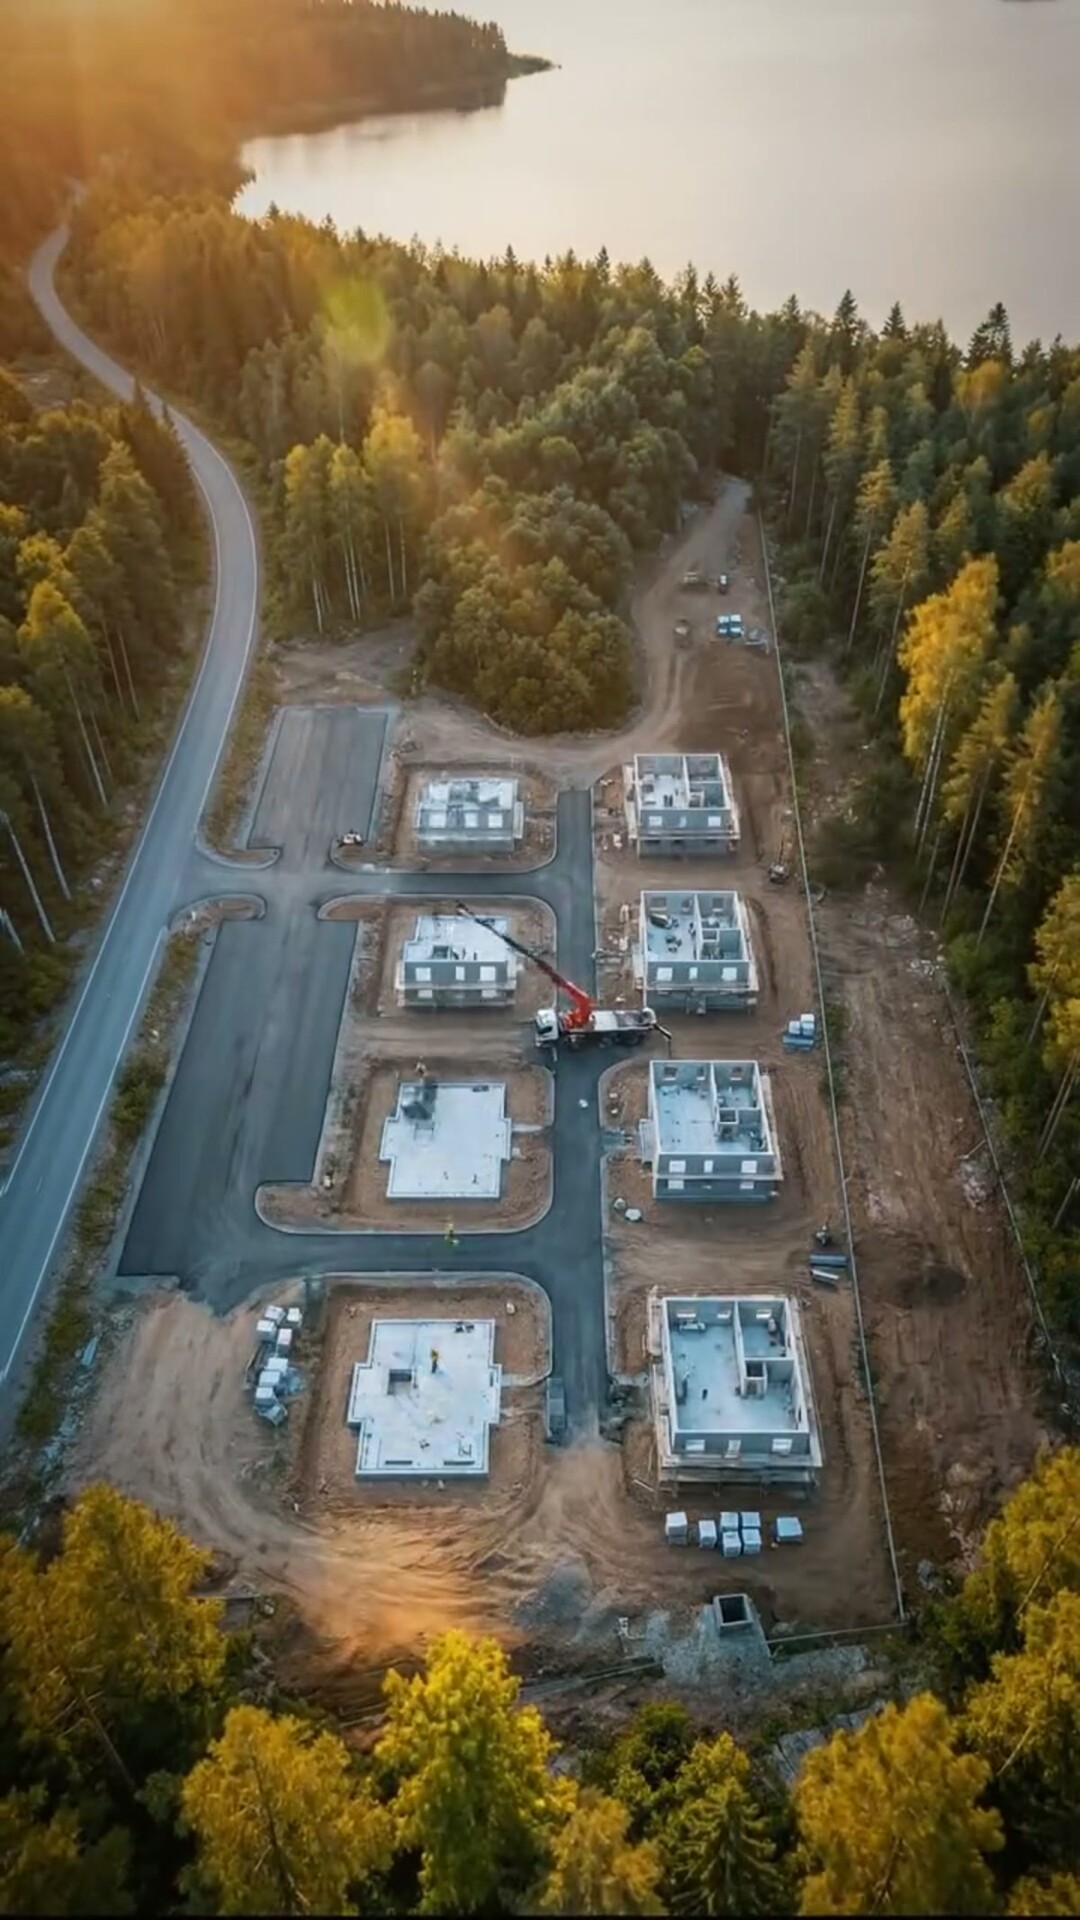
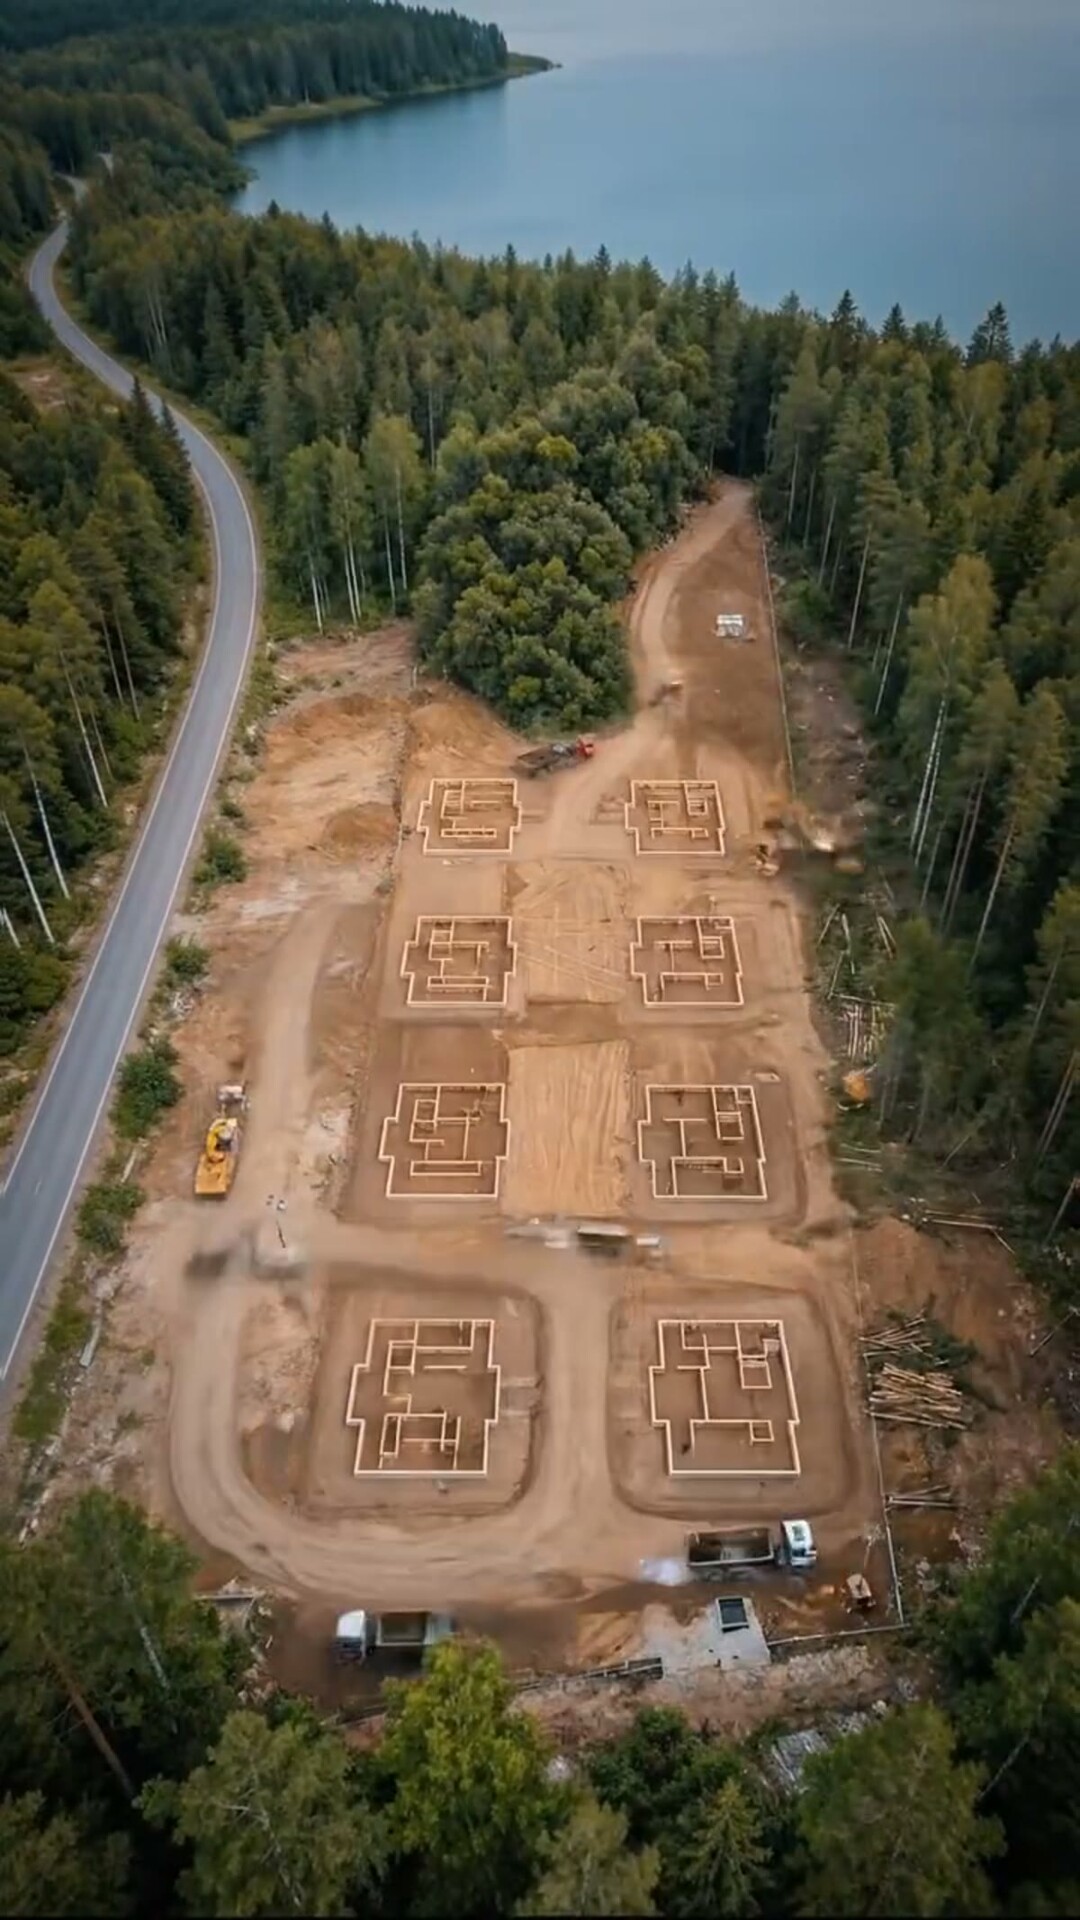
The start of my AI timelapse: a plot by the lake, nothing built yet
Step 1. Pick a photo that can actually be animated
This is the most underrated step. A model gets the most out of a strong source image and gets lost on a weak one.
What works:
A sharp image. If the face is blurry or blown out, the model has to fill in the gaps, and it fills them in strangely.
Clear light and depth. When there's a foreground, a background and a direction of light, the model has an easier time moving the camera and the objects.
Room in the frame. If the subject is pressed against the edge, any movement forces the model to invent things that aren't in the photo.
One idea per frame. A single person looking into the distance animates far better than a crowd of twenty faces.
If the image is weak, you can improve it or rebuild it in an image generator first. I make my stills in two models, Nano Banana and Seedream. Often one handles a shot better than the other, and often one picks up where the other left off. My main frame usually comes from Seedream, and the fixes from Nano Banana (Google's announcement of Nano Banana Pro).
Step 2. Choose the model for the job
There is no single best model for animating photos. Here's what I tell people in my lessons and breakdowns:
Kling. I like how realistic its images look, and I use it a lot. For talking photos I've tried different services, and I haven't found anything better than Kling. The current flagship line is Kling 3.0.
Grok Imagine. In my view, xAI's model is stronger than Seedance at animating photos, and cheaper (image-to-video in Grok Imagine 1.5). The one thing that bugs me: it likes dissolve transitions. I prefer hard cuts, so I generate one shot at a time and cut them together myself.
My advice is simple. Use a cheaper model for your first attempts, and bring in the expensive one once the shot and the idea are clear. In this workflow the generator is a swappable part. The system stays the same.
Step 3. Write a short prompt
The most common beginner mistake is a half-page description. With photo animation it does real damage.
I had a telling case when replacing a character in a video. I gave the model a long, detailed prompt, and it changed the person's appearance: the woman ended up looking like someone else. A short prompt kept more of the original details than the long one. The takeaway: describe the motion, not the looks. The looks are already in the photo.
A four-part template:
What moves ("the head slowly turns toward the window").
What the camera does ("slow push-in" or "static camera").
One honest warning: ready-made prompts "for any photo" don't work. Every image has its own light, its own setting and its own depth. When someone tells me about a "magic prompt", I call it what it is: a misconception.
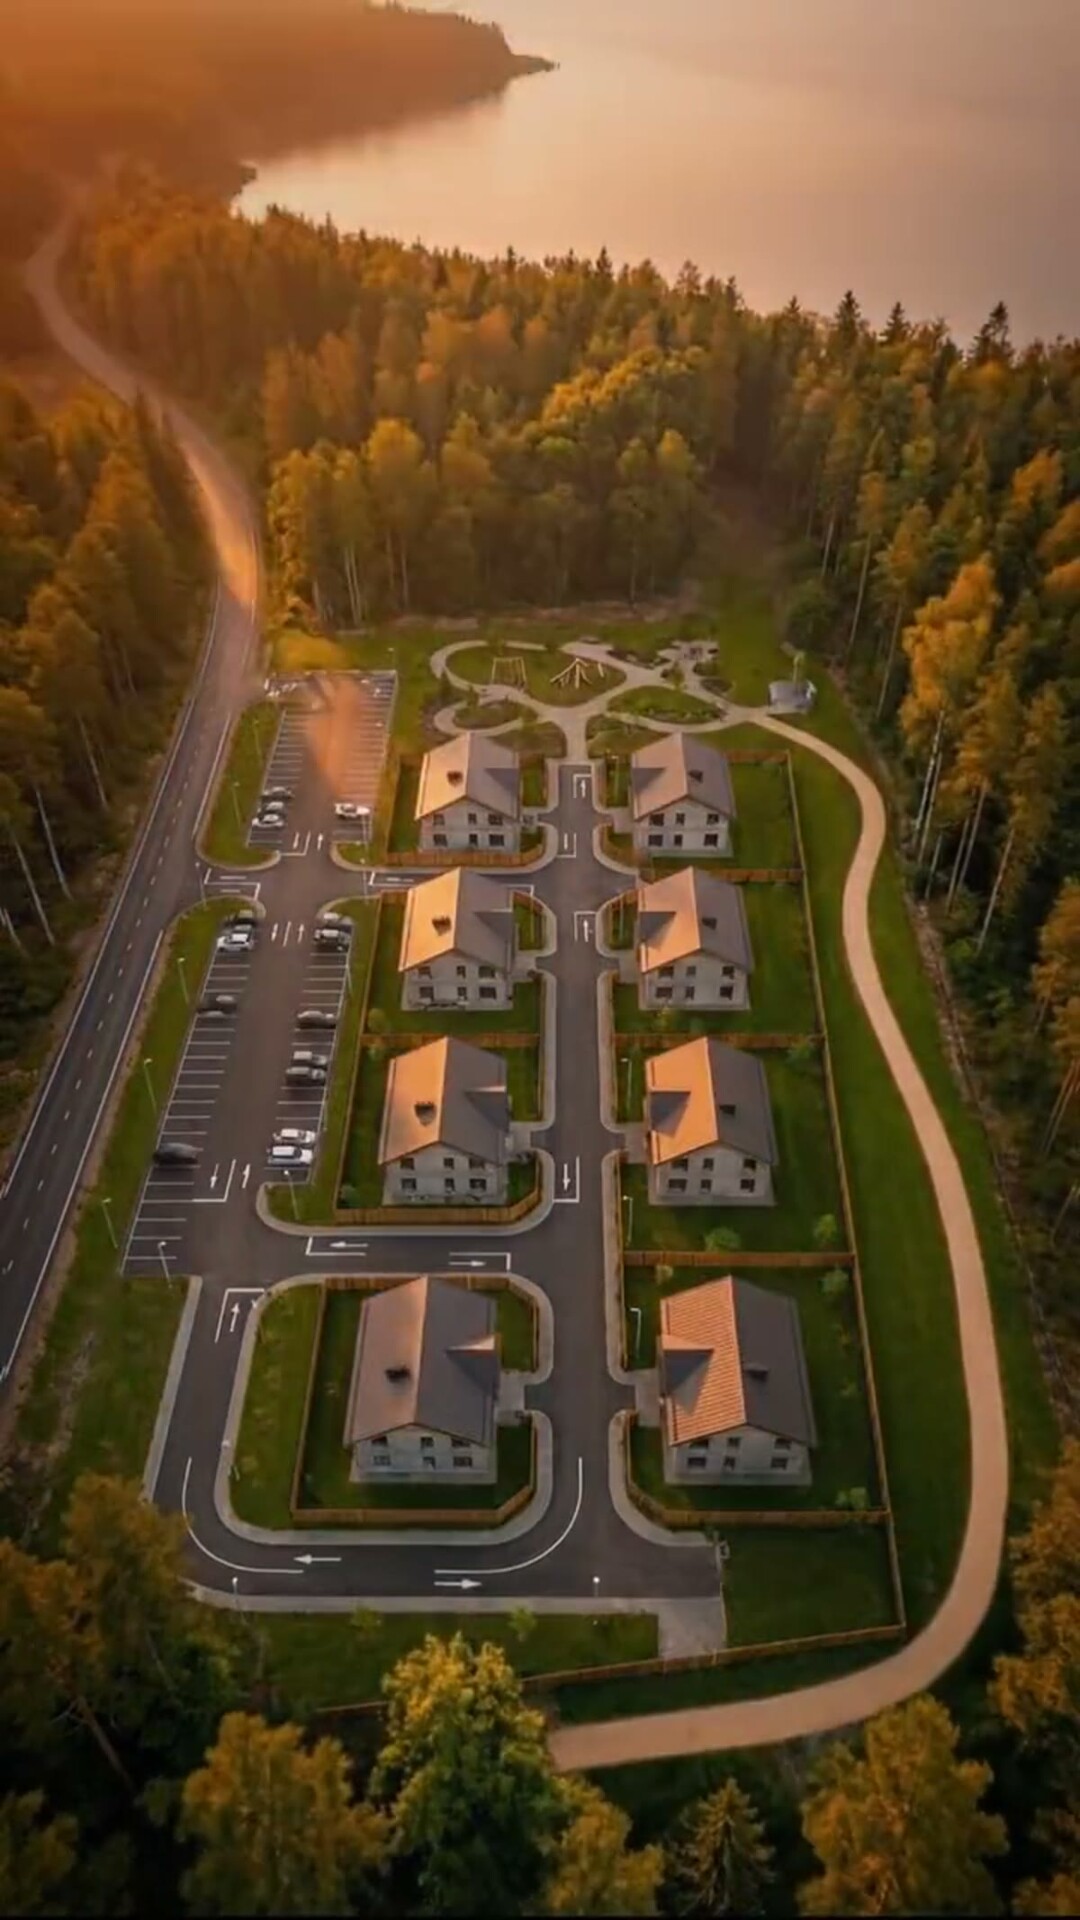
The same video near the end: the houses are up and the light has changed
How to avoid the creepy AI face
The face is the most fragile part of the frame. Viewers feel something is off instantly, and the uncanny valley starts with small things: blinks out of rhythm, a mouth that lives separately from the eyes, a gaze that drifts away.
What helps me:
One face in focus. With several people talking in the frame, the model doesn't know who to animate and give the voice to. For speech, keep one person in the shot.
Minimal action. "Smile, turn, wink and sit down" is a direct route to distortion. One action per generation.
A video reference instead of a photo when likeness matters. For my own face I feed in a short clip of me turning my head. That gives the model a sense of volume, and the face holds much better. It costs more, but for commercial work you need that accuracy.
Don't overload the references. Throw in too many photos and the result gets ugly. I've never used more than five references.
Short prompt. I said it above and I'll say it again: a long prompt can change how a person looks.
A note on real faces. Some models and platforms run strict checks. In one of my lessons I uploaded a selfie and got rejected, because that model didn't support real faces. Rules differ from platform to platform, so check the terms before you work with anyone's portrait, and don't use other people's photos without permission at all.
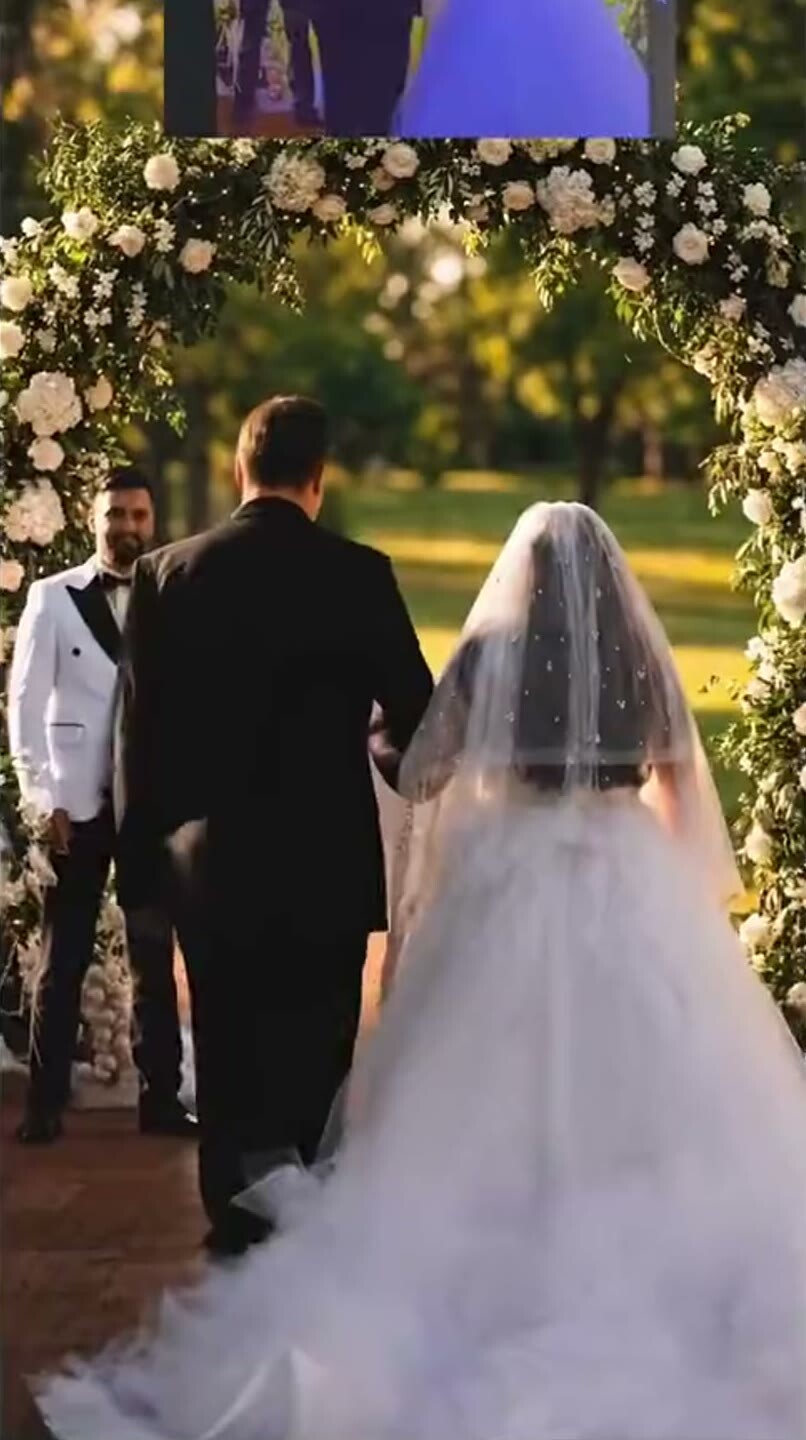
A frame from my “AI Wedding” video
What breaks and how to catch it
My most important habit is watching the result more than once. Here are the typical flaws and what to do about them.
Objects drift. In one of my hyperlapses I combined shots of the Burj Khalifa from different angles, and the buildings slid around in the frame. I only noticed once it was animated. A model doesn't stitch different angles of one place together the way a person expects.
Too few source frames. When I tried to show a renovation from just two photos, I got a lot of generative garbage. The more in-between frames you provide, the better the result.
Motion that's too slow. Many generators output video that feels slightly slowed down. So I speed up almost every shot: it looks more natural, and the extra speed hides some of the artifacts.
A weak first attempt. That's normal. In one lesson my first generation had weak dynamics, so I published the second. Budget two or three tries per shot and never treat the first one as final.
What to animate, and why
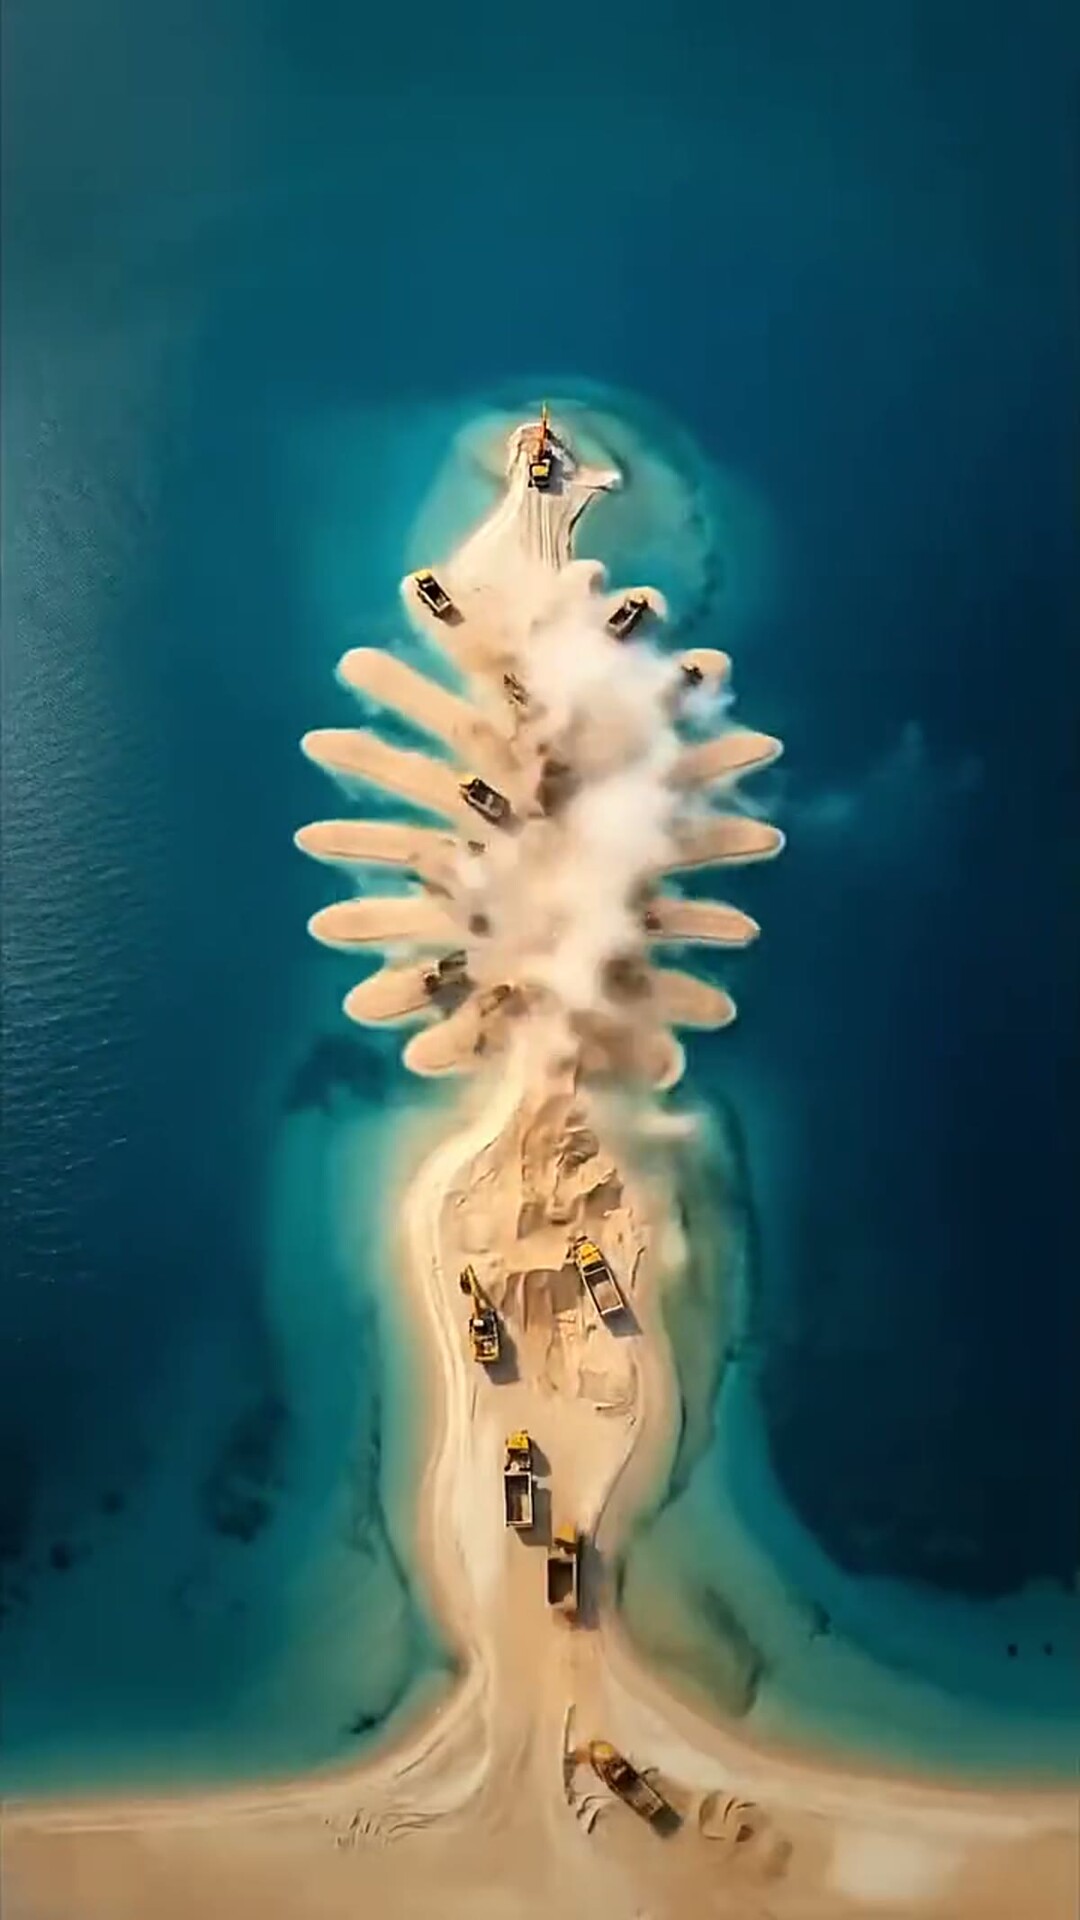
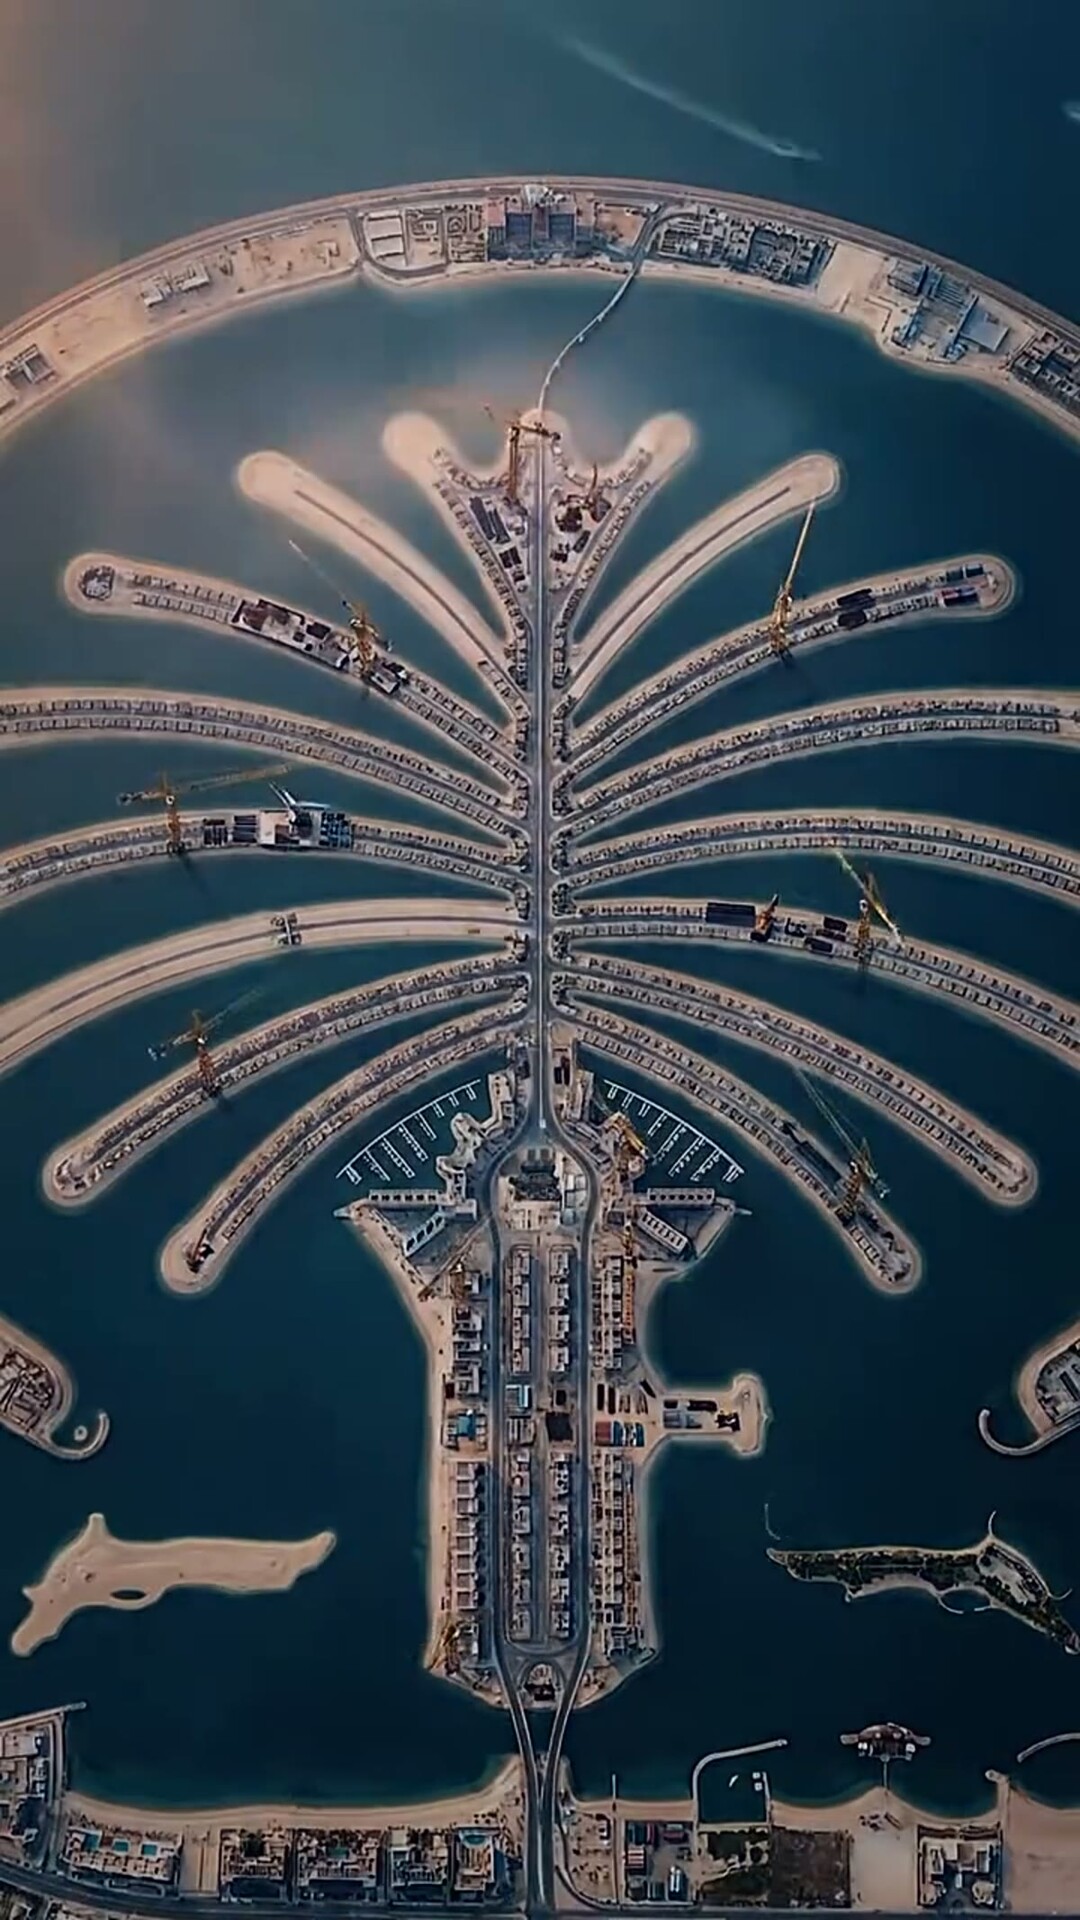
Animating a photo isn't entertainment for its own sake. Two of my AI timelapses have collected 55.8 million views across all platforms (my site data as of November 5, 2026): Palm Jumeirah with 30.2 million and the lakeside village with 25.6 million. About the Palm Jumeirah video I said it plainly: this shot doesn't exist in reality.
The Palm Jumeirah timelapse at the start: just sand on the waterThe same video at the end: the island is built up
Other places an animated photo earns its keep:
Archive and family photos. A short living scene from an old picture hits emotionally.
Products and ads. One good product shot turns into a short video for social media.
Real estate and construction. A timelapse built from photos of a site is a ready-made sales format.
Post visuals. Movement in the first seconds raises the chance that someone stops scrolling.
The core idea doesn't change. Idea, meaning and story beat technique. I walk through the full path from idea to finished video in How to make an AI video, and if you're starting from a still image, see my guide to photo-to-video AI.
Where to go next
For a first result, what's above is enough: a good image, a short prompt, one movement and two or three attempts. If you want to go further into timelapses and hyperlapses built from photos, I post deeper breakdowns and lessons in English on Patreon.
And one question to leave you with. Do you animate photos for the "wow", or for a story people will watch to the end? I think the second one lives longer. Happy to hear the case against it.
FAQ
What is the best AI to animate a photo?
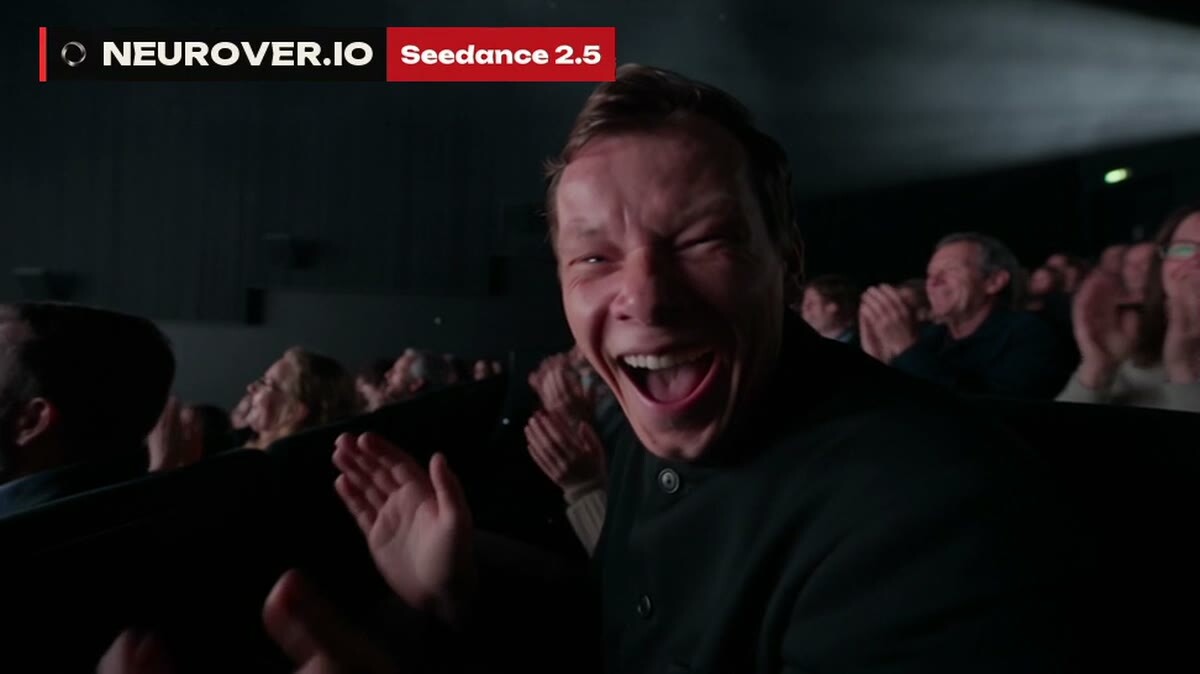
There isn't one universal answer. I use a cheaper model for first attempts, and for image realism I like Kling. In my view, Grok Imagine is strong and affordable for animating photos, though I don't like its dissolve transitions. Seedance 2.5 is powerful but the most expensive of the ones I use.
Why does the face look creepy when I animate a photo?
Usually because the prompt is too long, you're asking for several actions at once, or the source photo is weak. Ask for one movement, keep one face in the frame and don't describe the person's appearance in words. It's already in the photo.
Can I animate a photo with AI for free?
You can try. Google's Flow has a free tier, and when Nano Banana 2 launched, image generation with it was made free across Google's apps, Flow included (The Neuron). Terms change often, so check what applies before you start.
How many attempts does one shot take?
My first generation often comes out weak on motion, and the second or third is the usable one. I plan for two or three tries per shot and don't get frustrated by the first.
Can I animate someone else's photo?
Better not. Some models and platforms strictly check real faces, and the rights to a photo may belong to someone else. Work with your own images or with ones you have permission to use.